
A beauty portrait can be correctly exposed and still miss the brief. The skin looks flat, the lip gloss loses its shape, or the makeup that looked precise in person becomes hard to read on screen. Adding another light is not necessarily the answer.
A useful studio lighting setup for high-end beauty photography starts with control: a deliberate highlight, enough facial shape, and detail where the makeup needs it. One flash, a suitable modifier and a white reflector can give you a strong starting point. Build the look before you build a larger lighting rig.
This guide takes you through a practical head-and-shoulders setup, from the first light placement to the checks that make a beauty series consistent. The distances and camera settings are starting points, not fixed rules.
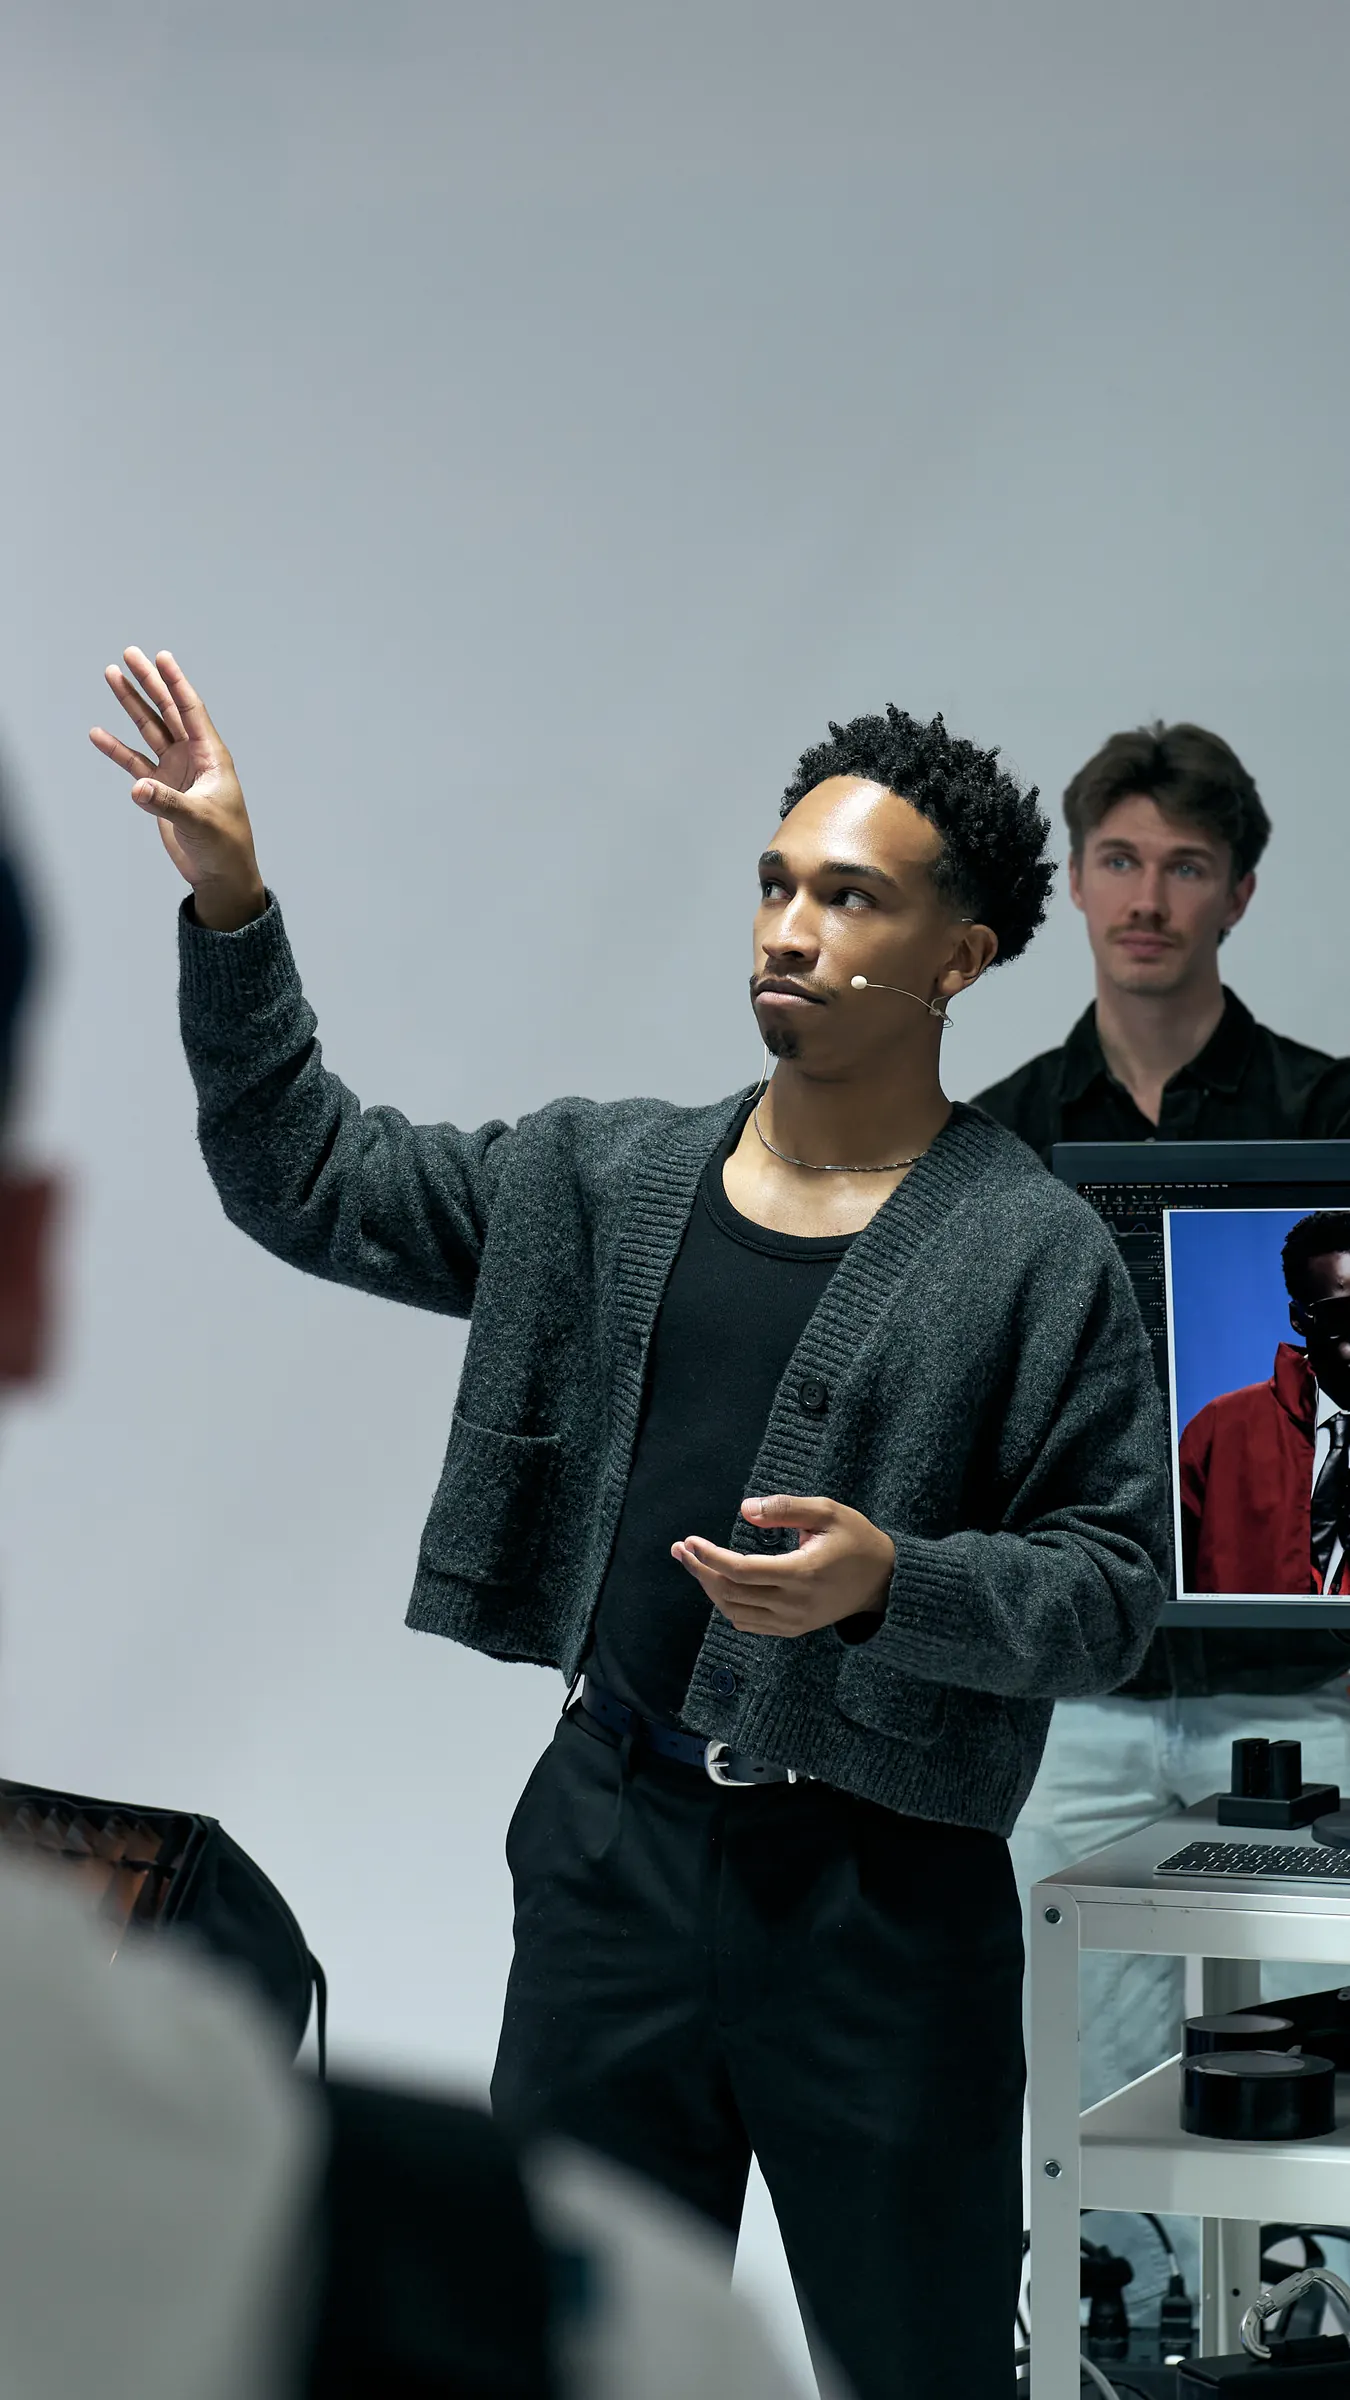
Start with the makeup brief, not the beauty dish
Before moving a stand, decide what the photograph needs to show. A skincare image with a dewy finish asks for a different highlight treatment from an editorial portrait built around matte colour or metallic eye makeup.
Agree with your makeup artist on what should remain visible: skin texture, the edge of an eyeliner design, the sheen of a cheek or the shape of gloss on the lips. Also agree on the crop. A full-face portrait and a close-up of an eye are different lighting and focus problems. Good preparation gives the team a shared target instead of leaving those decisions to retouching.
There is no single “high-end” light pattern. The quality comes from matching the light to the brief and keeping that decision consistent across the shoot.
The starting setup: one flash and a reflector
For a controlled, relatively soft beauty portrait, prepare:
- A camera with manual exposure and a compatible flash trigger.
- One studio flash and a roughly 90 to 120 cm softbox or octabox.
- A white reflector or clean white foam board.
- A neutral backdrop and secure stands; use a properly supported boom if needed.
- An optional tethering connection and neutral grey reference card.
An 85 to 105 mm full-frame-equivalent focal length is a useful starting range for head-and-shoulders framing. Choose a working distance that gives the perspective you want and leaves the team room to work. The focal length is not a requirement; a suitable zoom can do the job, and a macro lens becomes useful when you need tighter detail than your existing lens can focus on.
The lighting arrangement is a version of clamshell lighting: the main source sits above and in front of the face, while a reflector below the face returns some of that light into the shadows. You do not need two flashes to create it.
Base setup: one flash and a white reflector
Add only for a specific job
Lighting roles in the starting setup. A schematic, not a floor plan or a measured set.
1. Set the camera before adjusting flash power
Start in manual exposure with your camera’s native low ISO (often ISO 100) and an aperture around f/8 for a head-and-shoulders portrait. A shutter speed of 1/160 second can be a practical starting point, provided it is within the working sync limit of your camera, trigger and flash. These are starting settings, not an exposure recipe. The subject, framing and equipment determine the final choices.
Use a shutter mode your camera supports for flash. Do not assume that silent electronic shutter will work with your lighting system. Check the manufacturer’s guidance and take a test frame for banding or a dark edge.
Then take a photograph with the flash off. For this controlled flash setup, the frame should be dark enough that room light is not making a meaningful contribution to the face. If it is not, reduce or block the unwanted ambient light, or adjust the exposure within your sync limits.
Now switch on the flash. Set its output with a flash meter or test frames, checking the face and important highlights. A setting such as “one-eighth power” cannot be transferred reliably between different flash units, modifiers and distances.
For a refresher on the separate jobs of ambient exposure and flash output, read How to Light a Portrait: From One Flash to a Full Set.
2. Place the main light where the eyes can still see it
Put the softbox close to the camera axis, above the model’s eye level, and angle it down towards the face. As a starting example, position its front diffusion surface roughly 0.8 to 1.2 metres from the face. Adjust the height and tilt to the model’s position and the size of your modifier.
The distance matters because the apparent size of the source changes. A modifier that looks large from the model’s position gives softer shadow transitions than the same modifier farther away. Its size on the equipment label does not tell you how soft the light will look on this set.
Take your first frame without the reflector. Check the upper catchlights, the shadow under the nose and the visibility of the eyes. If the eye sockets become dark, lower the source or change its angle before adding fill. A high frontal light can work well, but pushing it too high creates a problem the reflector may not solve cleanly.
Keep the model comfortable. Do not depend on an awkward head position to rescue a light that could be placed better. Secure the stand, follow the boom’s load limits, counterweight it correctly and keep cables out of the working area.
3. Add fill without removing all facial shape
Place the white reflector below the face, just outside the crop. Angle it so it catches the main light and returns that light towards the model. Move it closer or farther away while comparing the shadows under the chin, nose and eyes.
White is a useful first choice because it provides relatively gentle fill. A silver surface can return more pronounced light and alter the lower catchlight and reflections. Treat that as a different look, not an automatic upgrade. Reflector material, position and distance all affect the result.
The goal is not to erase every shadow. If the cheeks and jaw lose definition, move the reflector away, change its angle or try a less reflective surface. If the lower reflection becomes more noticeable than the main highlight, reduce its contribution.
For a campaign that needs independently adjustable fill, a second flash may be useful. Add it only when you know what the reflector cannot provide. Its position and output should support the main light, not create a competing upward-lit face.
4. Control gloss and skin texture together
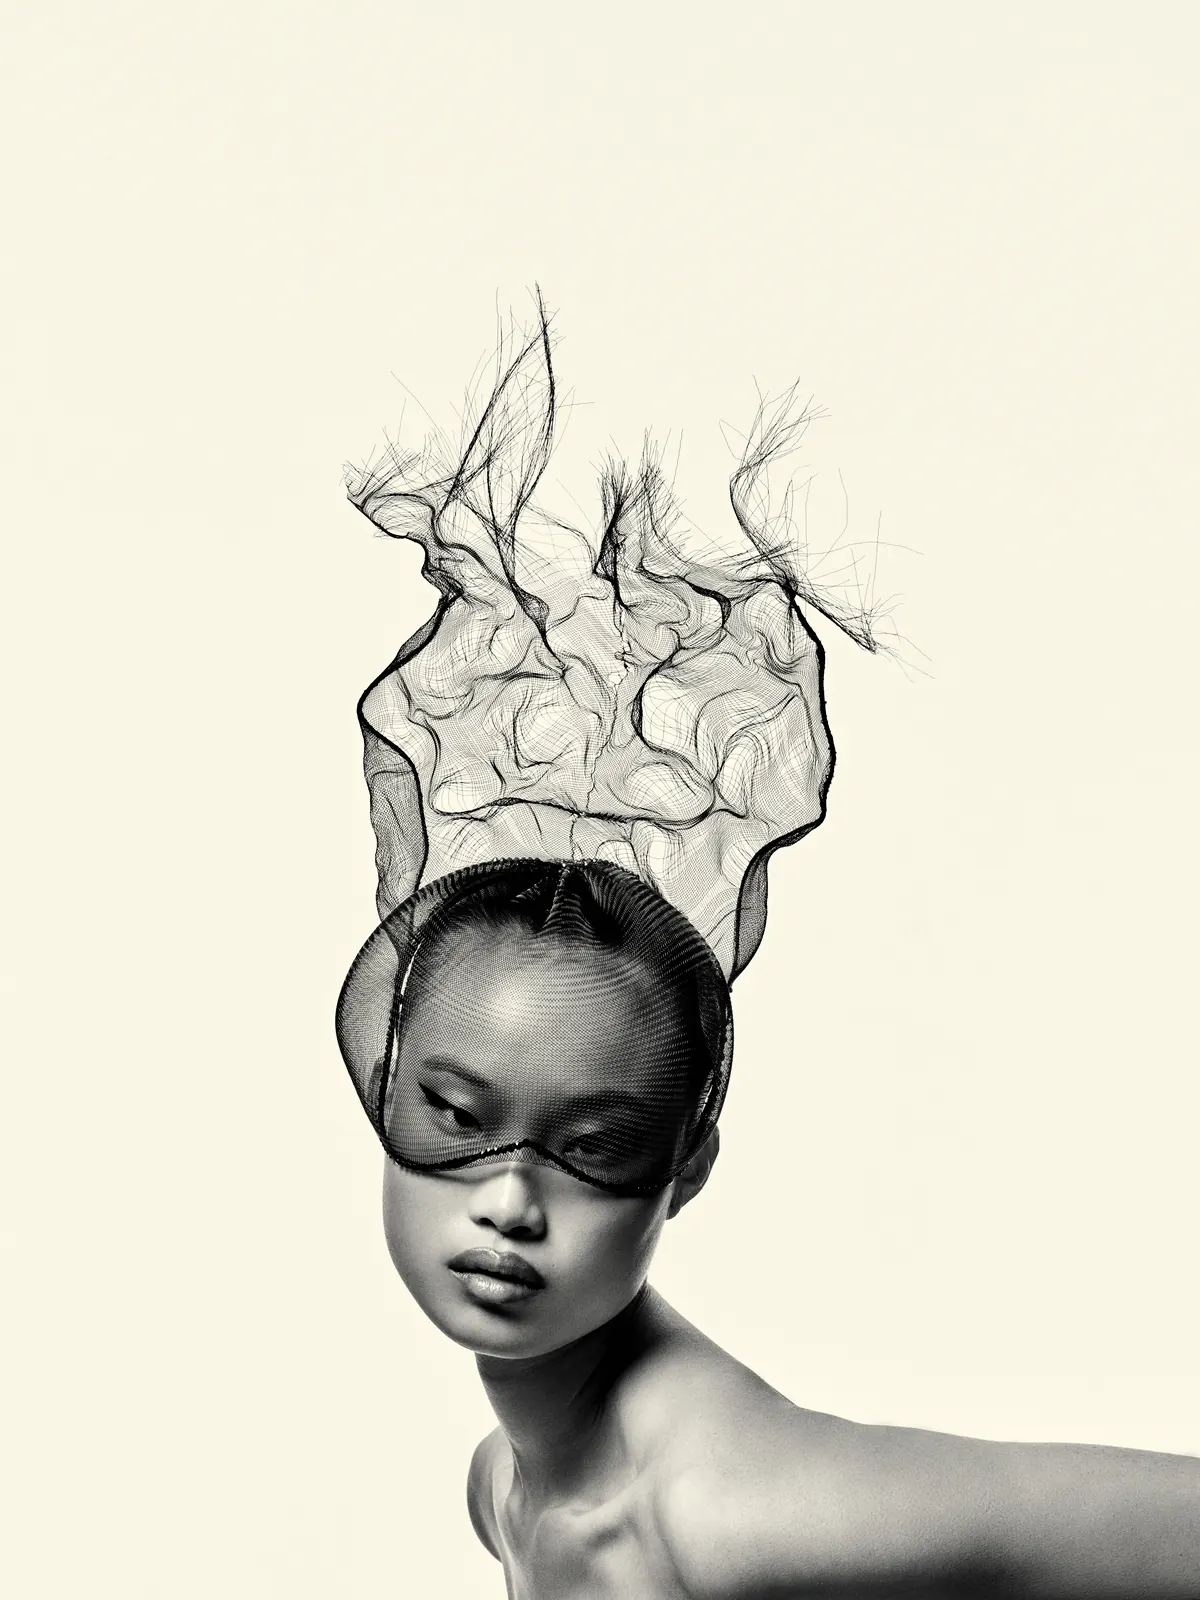
A beauty photograph records more than skin colour. It also records reflections from skin, makeup and product. The modifier’s shape, apparent size and position influence the shape of those specular highlights: the brighter reflections you see on gloss and shiny surfaces. Treat these reflections as part of the lighting decision, particularly in close-ups.
Inspect the forehead, cheeks, nose and lips separately. A highlight on lip gloss may help describe the product; a bright reflection over an eyeliner edge may hide the detail the client needs.
If a reflection is too dominant, first adjust the angle of the source or the model slightly. Check with the makeup artist before changing the finish. Simply reducing exposure can make the rest of the face too dark without solving the reflection’s shape.
Preserve the intended complexion rather than trying to make every skin tone reach the same brightness. Look for the relationship between the lit skin, its shadows and the product highlights. Check individual colour channels as well as the overall histogram when a saturated makeup colour or bright highlight is important.
A beauty dish is an alternative, not a qualification for professional work. Its result depends on its size, distance and diffusion, so choose it for the shadow transitions and reflections it gives, not for its name.
5. Give the background its own job
As a starting example, leave roughly 1.5 to 2 metres between the model and the backdrop if your studio allows it. This can help you manage spill and keep the face lighting from dictating every background decision. It is not a universal spacing rule.
A white backdrop will not necessarily photograph as white when lit only by the main source. If the brief needs a clean white background, you may need separate background lighting. If it needs grey or a darker tone, the same backdrop may work without an additional light. Background illumination is separate from the clamshell pattern.
Add a background light only after the face looks right. Watch for flare and light spilling back onto the model. A rim light is also optional: it should solve a separation problem or serve the brief, not appear because the setup feels too simple.
In a small white studio, reflected light from the walls may already be filling the face. Black flags can reduce that unwanted bounce and restore shape. Place them securely and change one side at a time so you can see what each flag contributes.
6. Check the image tethered before committing to the series
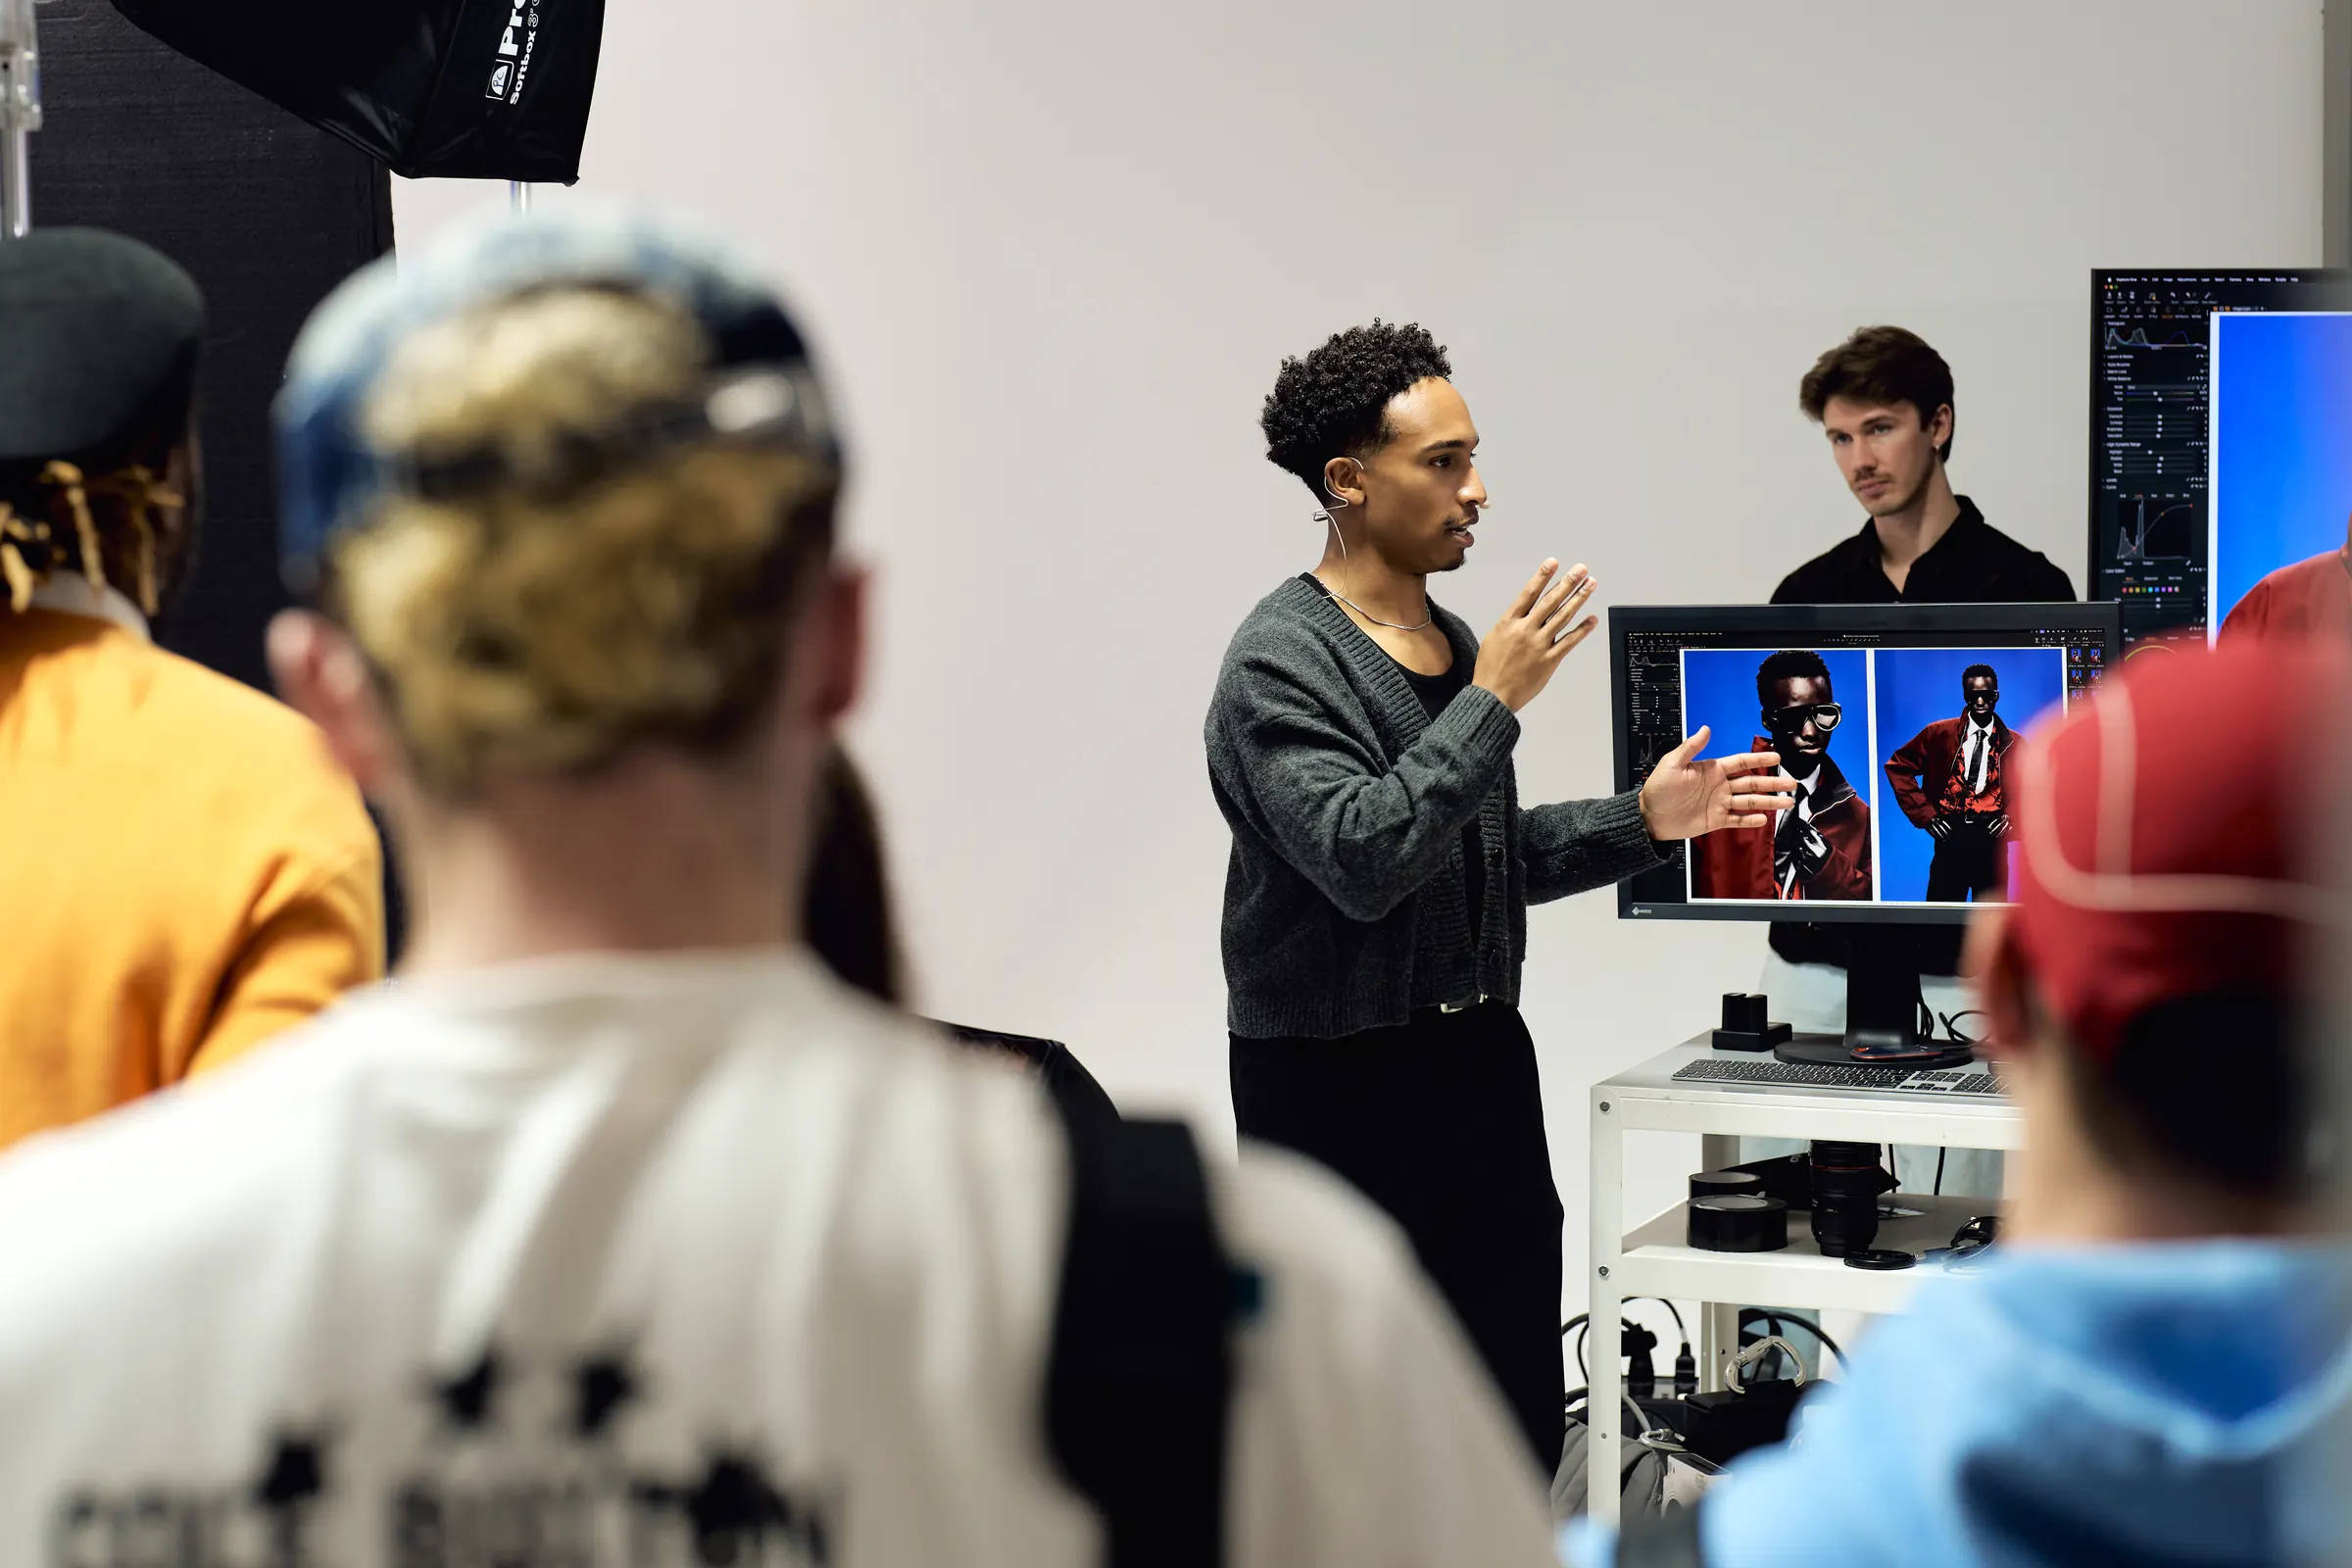
If tethering is available, review a test frame with the makeup artist at both normal viewing size and a close crop. Check the chosen focus area, eyelash and eyeliner detail, product buildup, stray hairs and unwanted reflections. Close-up photography can reveal makeup issues that are easy to miss on the camera screen.
At f/8, a turned face or a closer camera position can still leave important details outside the sharp zone. Stop down if the brief needs more depth of field, then adjust flash output and check the result. For tight eye or lip details, reassess the setup rather than assuming the portrait settings will carry over unchanged.
Capture a neutral reference under the actual flash lighting, not only under the modelling lamp. Use it to establish a consistent starting white balance, then keep your processing view stable while reviewing a series. A grey card helps with neutrality; it does not replace a considered colour workflow or guarantee that every cosmetic colour is reproduced perfectly.
Small changes in chin angle can move a highlight or hide part of the makeup. Give clear, repeatable direction, and pause for touch-ups rather than planning to remove every issue later.
A short exercise to make the setup repeatable
Before shooting a full look, make three frames: main light only, main light with a white reflector, then the same arrangement with the reflector farther away. Keep the model, camera and main light in the same positions.
Compare the eye sockets, cheek shape, lip reflections and chin shadow. Choose the version that supports the brief, not simply the brightest face.
Record the modifier, its distance and height, reflector position, camera settings and flash output. A set photograph and a few floor marks can make it much easier to restore the arrangement after a break. Record any changes to the makeup or head position too. Repeatability depends on more than remembering the power setting.
Common beauty-lighting problems and what to change first
The skin looks flat
Remove or reduce fill first. Check whether the reflector or room bounce is overwhelming the main light’s shaping. Then consider a small change in main-light direction. Add contrast deliberately rather than adding another source.
The eyes look dark
Check the main-light height and angle. Lowering or repositioning it may bring light into the eyes without needing stronger fill. Keep the catchlights intentional.
The gloss looks blown out
Check the RAW file and colour channels to distinguish clipping from a bright but retained reflection. Adjust the reflection’s angle or size, and discuss the finish with the makeup artist. Do not rely on highlight recovery to recreate information that was not captured.
Only part of the makeup is sharp
Recheck focus, camera distance, head angle and depth of field. A sharp near eye does not guarantee a sharp far eye or lip edge. Make the focus decision around the detail the photograph needs to deliver.
The light changes between frames
Check that the flash has recycled, that the trigger is firing reliably, and that the model’s position has not changed. Keep the working settings consistent. Motion sharpness also depends on flash duration and any remaining ambient contribution, not just shutter speed.
See the decisions on set, then make them yourself
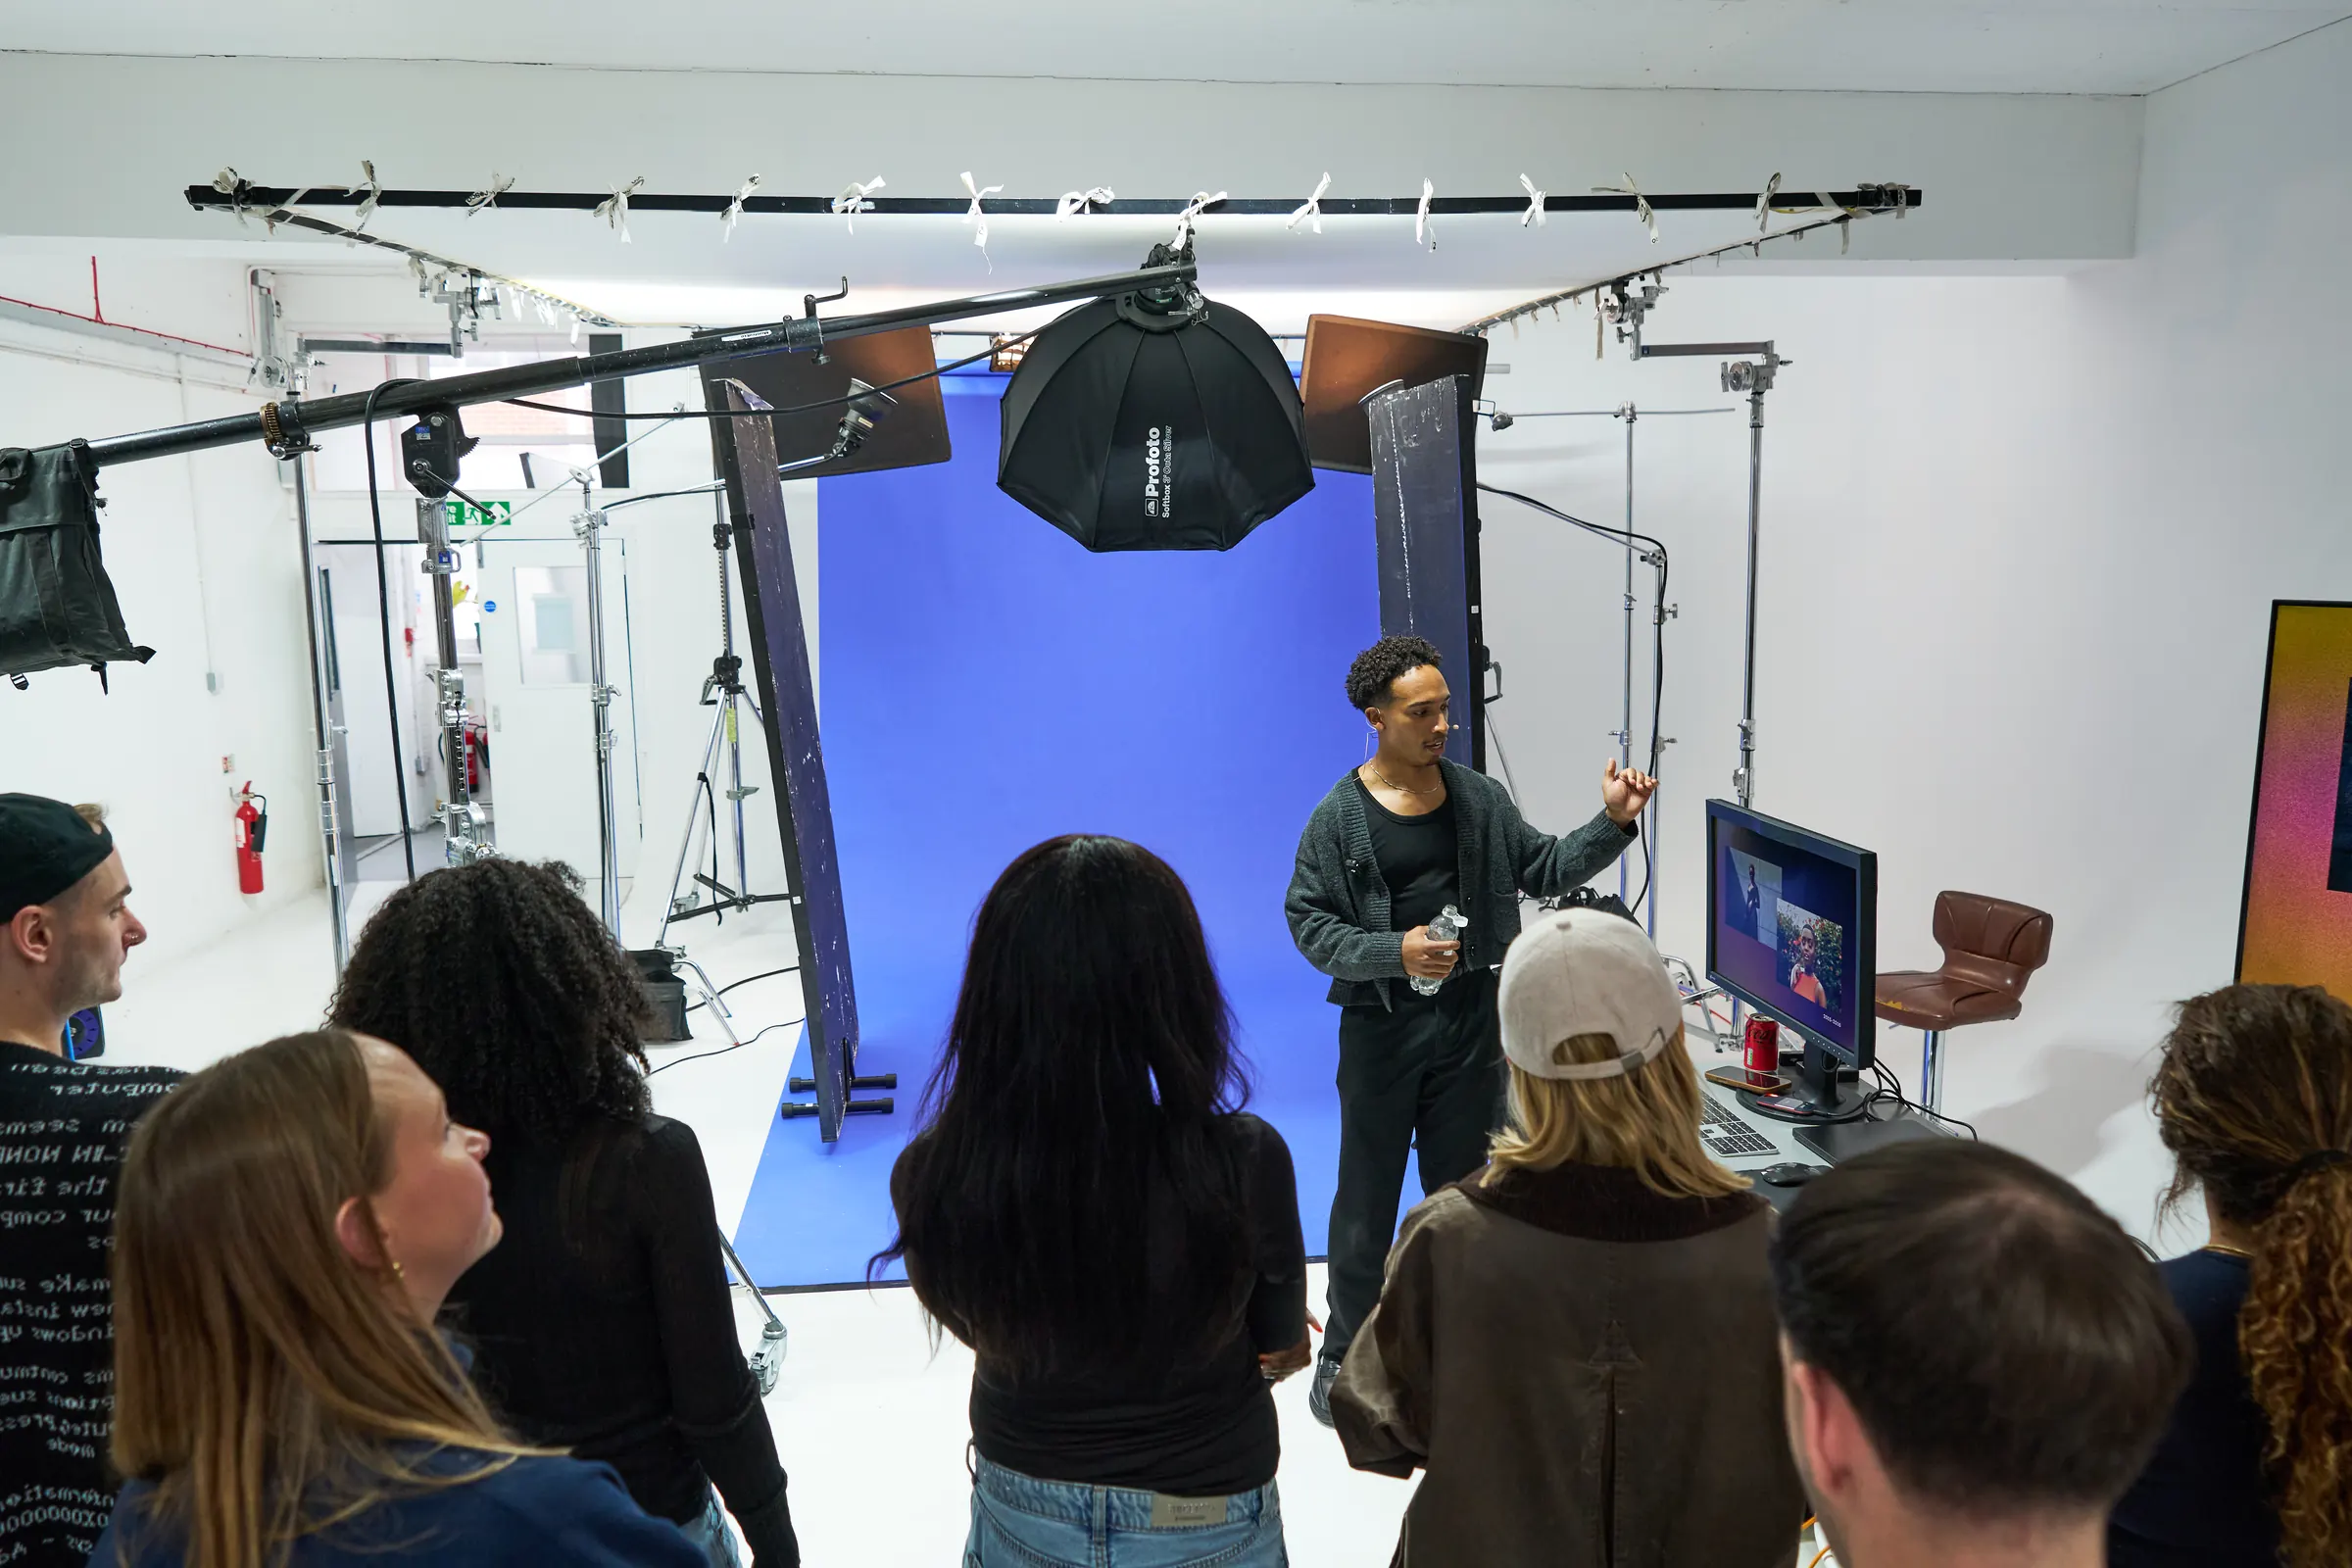
Reading a setup tells you where to start. Watching a maker adjust the light, explain the choice and work with a model teaches you what to change next.
That is how our events work. On 28 January, London fashion, portrait and beauty photographer Ian Hippolyte gives a masterclass in Amsterdam, with light from Profoto and a print corner from Epson. Afterwards you shoot yourself on three styled sets with professional models. Places are limited.